Understanding Head Gaskets: Signs of Trouble and What Happens When Replaced
Have you ever heard of a head gasket? It's a crucial part of your car's engine, but many people aren't quite sure what it does or why it's important. Let's break it down in simple terms.
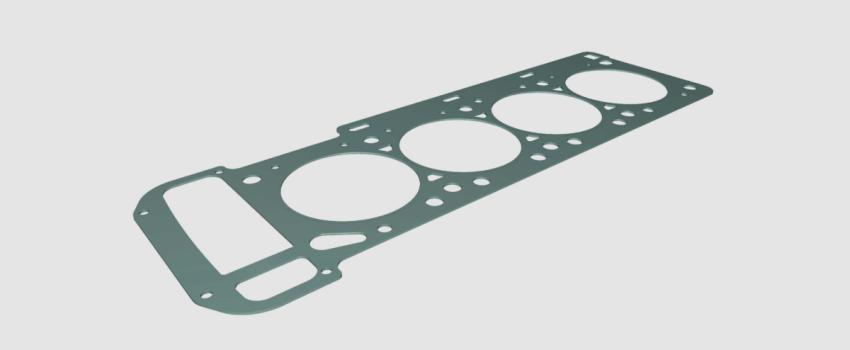
What is a Head Gasket?
Think of a head gasket as a vital seal between the engine block and the cylinder head. It's like a protective barrier, keeping oil, coolant, and combustion gases in their proper places. Without it, these fluids could mix where they shouldn't, leading to serious engine problems.
Signs of a Faulty Head Gasket
How do you know if your head gasket is on the fritz? Look out for these signs:
1. Overheating: If your engine is constantly running hot, it could be a sign that the head gasket is failing and allowing coolant to leak.
2. White Smoke: Seeing thick white smoke coming from the tailpipe, especially when you start the car, could indicate coolant leaking into the combustion chamber.
3. Milky Oil: Check your oil dipstick. If you see a milky or frothy substance on it, that's a sign that coolant is mixing with your oil – not a good combination!
4. Loss of Power: A faulty head gasket can lead to a loss of compression in the cylinders, resulting in decreased engine performance.
5. Bubbles in Radiator: If you notice bubbles forming in your car's radiator when the engine is running, it could mean that combustion gases are leaking into the cooling system.
What Happens When Your Head Gasket is Replaced?
So, you've spotted the signs of a faulty head gasket, and it's time to get it replaced. What can you expect?
1. Engine Disassembly: First, the mechanic will need to remove various components to access the head gasket. This might include the intake manifold, exhaust manifold, and possibly the timing belt or chain.
2. Cleaning: Once the head is exposed, it will be thoroughly cleaned to remove any traces of the old gasket material and to ensure a proper seal with the new one.
3. Replacement: The new head gasket is carefully installed, along with any other necessary gaskets and seals. It's essential to use high-quality replacement parts to ensure the longevity of the repair.
4. Reassembly: With the new head gasket in place, the engine components are reassembled, following manufacturer specifications and torque settings to ensure everything is properly aligned and tightened.
5. Testing: Before calling it a day, the mechanic will run a series of tests to ensure that the new head gasket is doing its job effectively. This may include a compression test, leak-down test, and checking for any signs of coolant or oil leaks.
6. Break-in Period: It's important to take it easy on your newly repaired engine for the first few hundred miles. This allows the new head gasket to settle in and form a proper seal.
Replacing a head gasket is a labor-intensive process, but it's necessary to keep your engine running smoothly. By being aware of the signs of a failing head gasket and addressing any issues promptly, you can avoid more significant and costly repairs down the road. Remember, regular maintenance and prompt attention to any warning signs are the keys to keeping your car on the road for years to come.
Comments
Leave a comment
Your name and email address will not be stored in the browser and your email will not be published.